Week 1: Blinking Lights
For this project, I built a simple Arduino circuit designed to make an LED blink on and off repeatedly. The purpose of the project was for me to learn the basics of connecting the Arduino board to a breadboard and writing code that controls the behavior of the LED. Eventually, I expanded the project by modifying the delay timing and even adding a second LED to blink along with the first one.
Here is the code I used for a single blinking LED:
int led = 13;
void setup() {
pinMode(led, OUTPUT);
}
void loop() {
digitalWrite(led, HIGH);
delay(1000);
digitalWrite(led, LOW);
delay(1000);
}
Here is the code when I added the second LED:
int led1 = 13;
int led2 = 12;
void setup() {
pinMode(led1, OUTPUT);
pinMode(led2, OUTPUT);
}
void loop() {
digitalWrite(led1, HIGH);
digitalWrite(led2, HIGH);
delay(1000);
digitalWrite(led1, LOW);
digitalWrite(led2, LOW);
delay(1000);
}
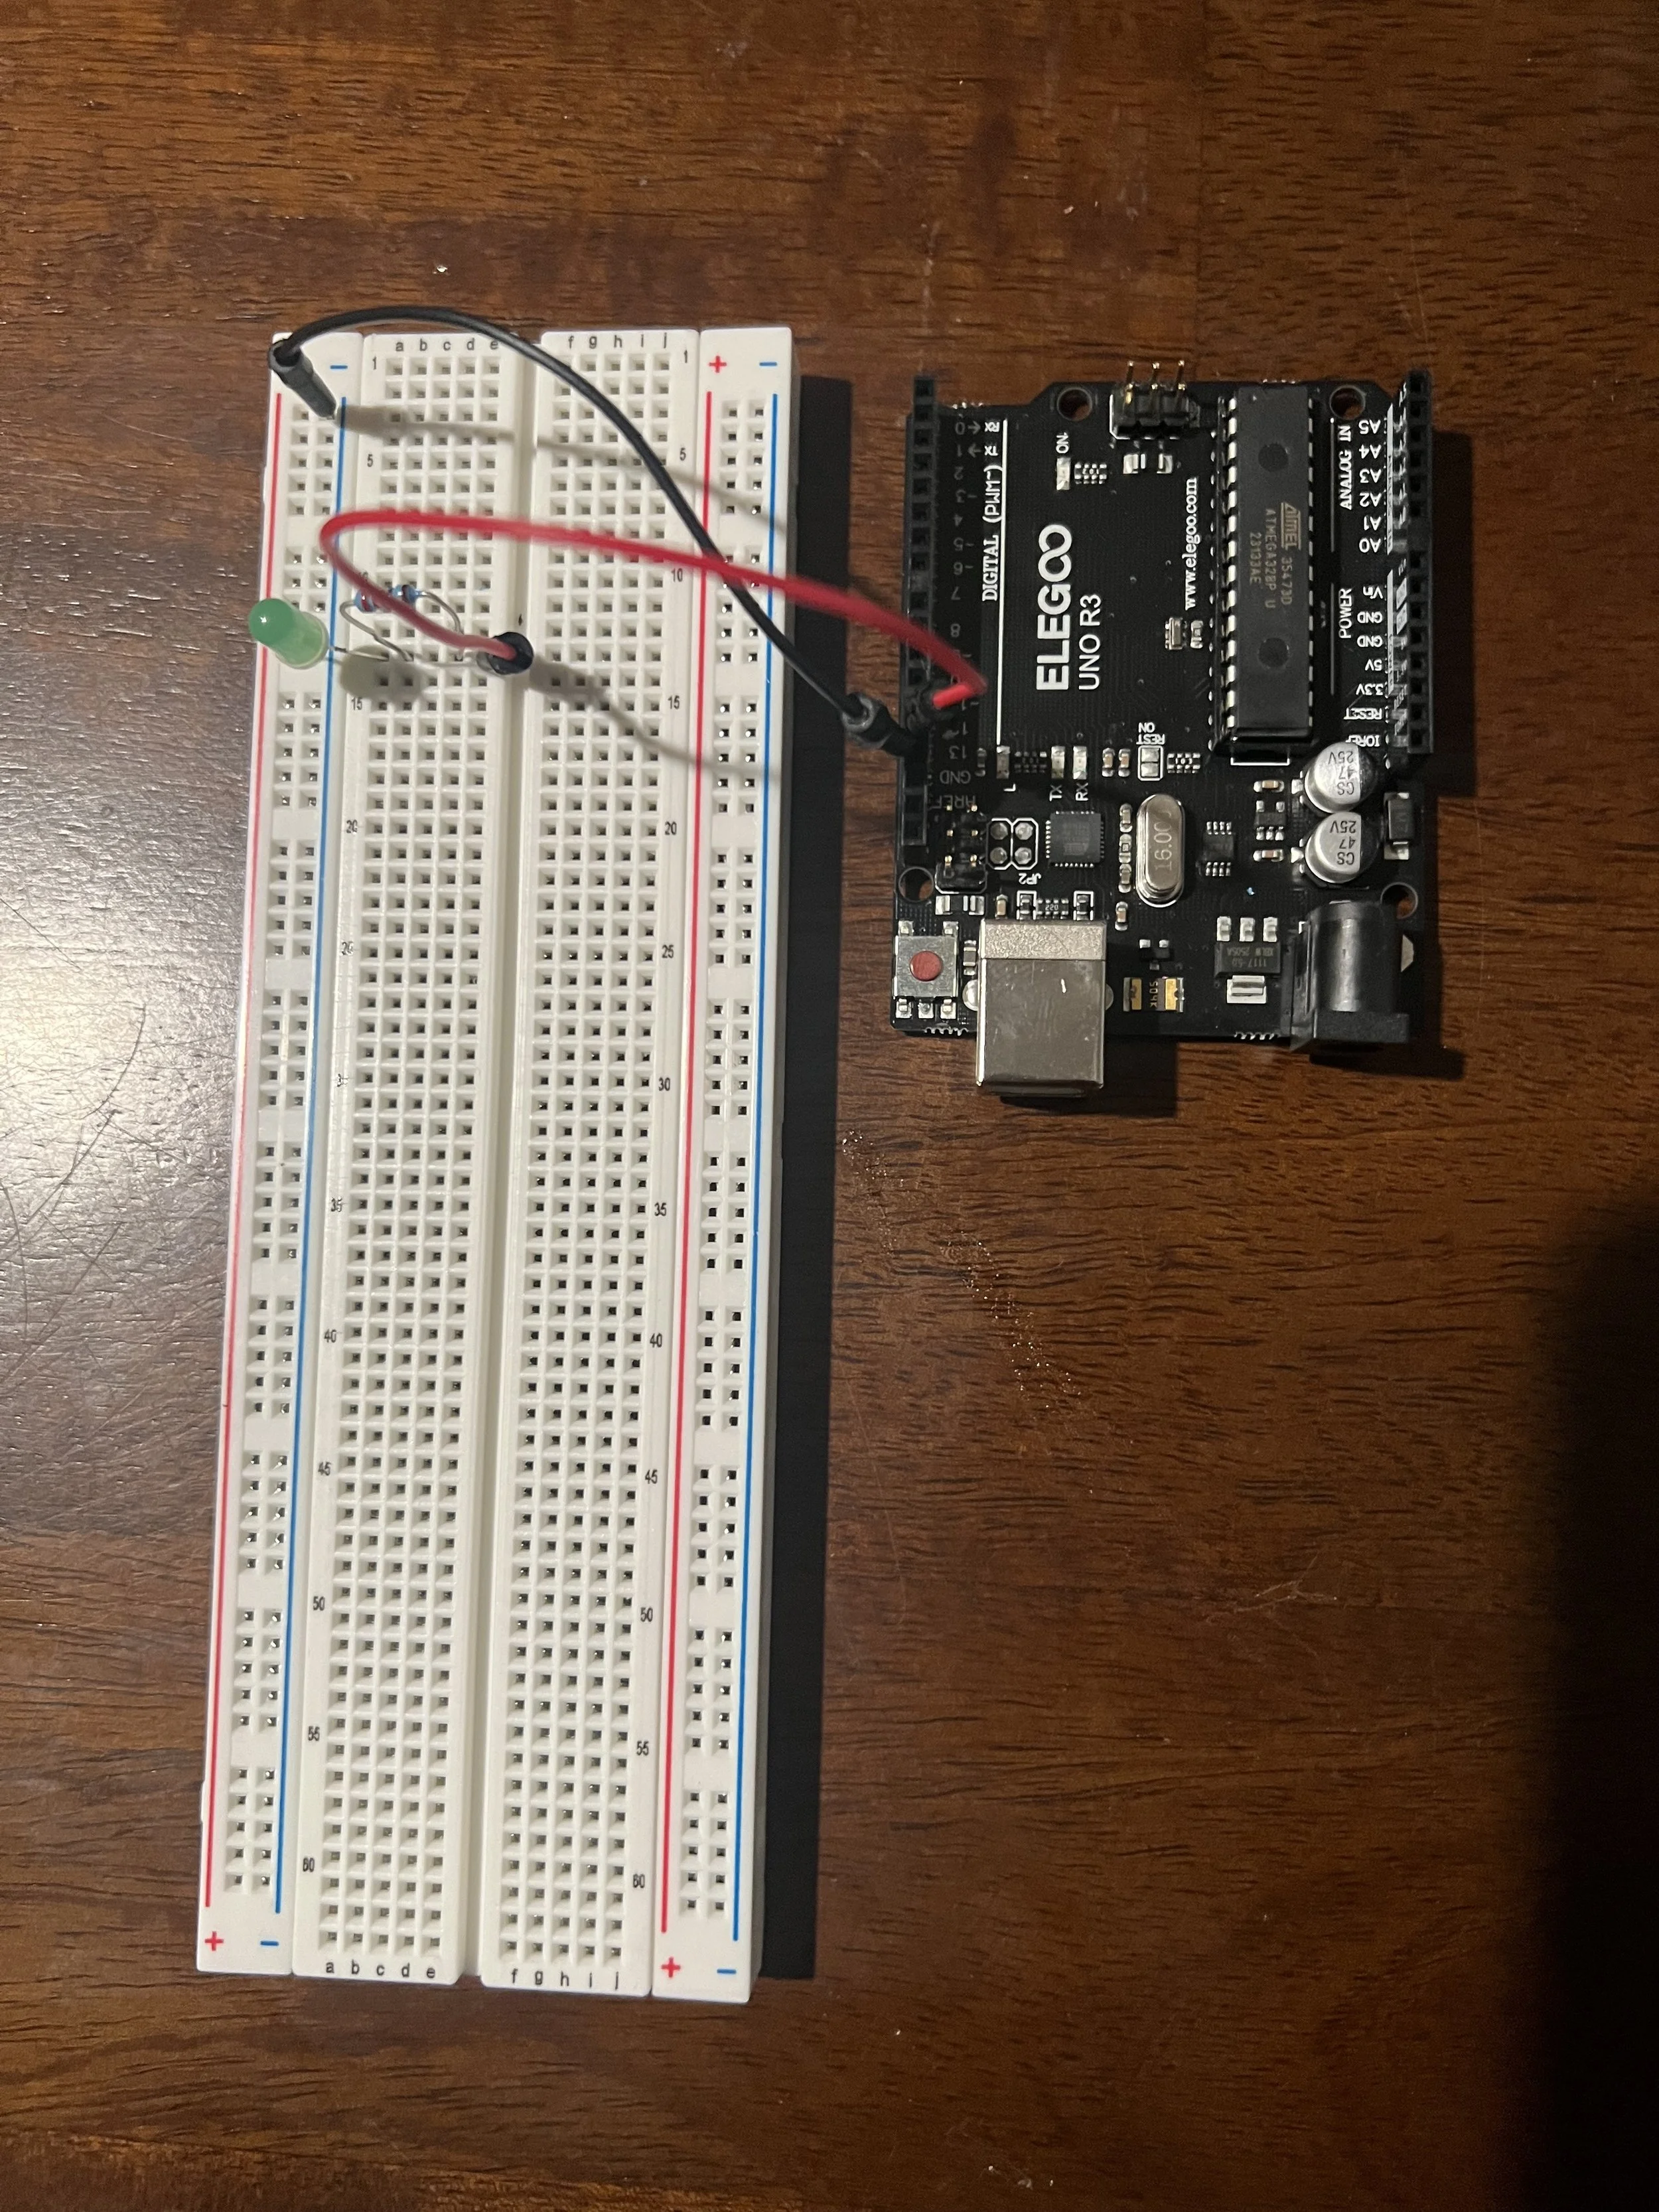
Picture of the circuit including Arduino
and Breadboard
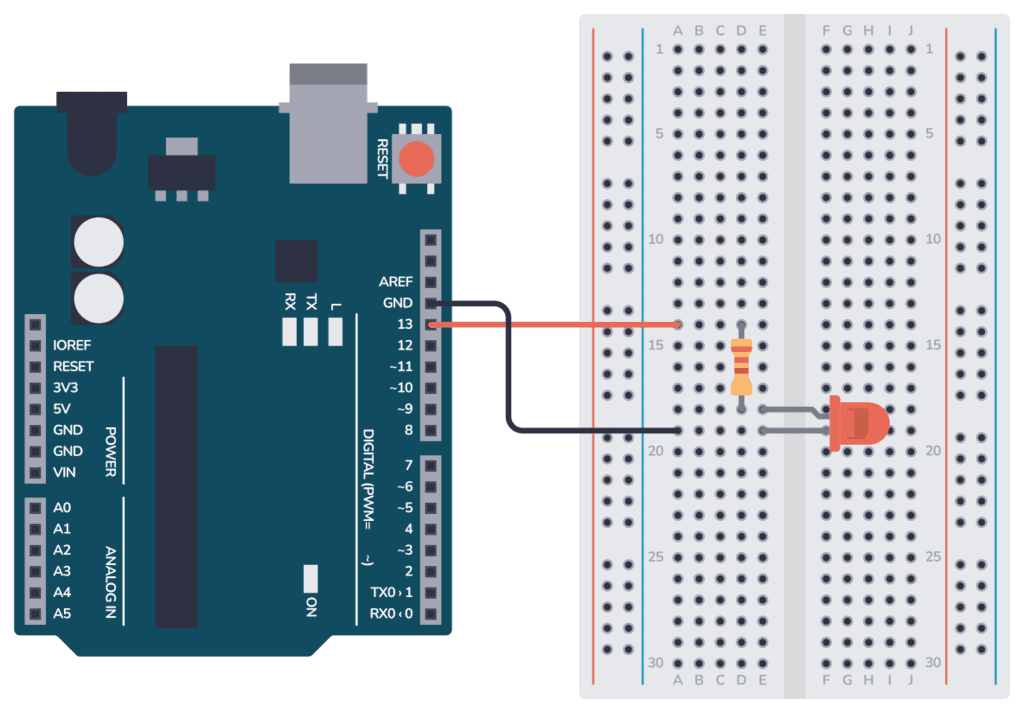
Electronic Diagram
In my video, I will explain how the code sends a HIGH signal to the LED pin, which turns the LED on, and then waits based on the delay time before turning the LED back off. In my video I demonstrate the LEDs blinking and show how the timing of the blink changes when I change the delay values. If for some reason my circuit fails while recording, I will explain what the LED is supposed to do (blink on and off) and identify that the issue usually comes from either wiring being placed in the wrong row, an incorrect pin number in the code, or capitalization issues that cause compile errors.
When I first started this challenge, I honestly felt overwhelmed and unsure how coding and circuits worked together. I had to go slowly, double-check wiring, read the starter guide repeatedly, and trust that I could learn it even when it didn’t make sense at first. When I noticed the LED finally blink for the first time, it boosted my confidence. That encouraged me to start experimenting. I began modifying the delay timing, and then later challenged myself to add a second LED. Each modification forced me to think through how the code talks to the board and how each pin assignment directly changes what happens physically on the circuit.
Through this project, I learned that small details in code and wiring matter more than I realized — a missing bracket, a lowercase letter, or a single wire in the wrong place can shut the whole circuit down. Even though I struggled at times, I realized that problem-solving, persistence, and trial-and-error are all part of the learning process. If I run into issues next round, my next steps will be to check pin assignments, check capitalization, and trace my circuit step-by-step to debug before panicking. In the real world, this kind of blinking LED circuit shows up in everyday electronics: TV power indicator lights, routers, gaming consoles, even charge status indicators. This gives me ideas for future extensions — such as making patterns, sequencing lights, or eventually building a multi-light communication system or alert device.