Week 6: Servo Motor
Project Overview
This week, I explored how to combine a light sensor with a motor to create an interactive circuit that responds to changes in brightness. The goal of the project was simple on paper: use a light sensor to detect the amount of light in the environment and then trigger a motor to move based on that reading. But once I started working through the wiring, code, and testing, I realized how much problem-solving goes into getting even a small interaction to work smoothly. In this project, I experimented with reading analog data from the light sensor, mapping it to motor movement, and making sure everything behaved consistently. This blog post walks through my code, my circuit setup, the thinking behind the adjustments I made along the way, and my reflections on what I learned throughout the process.
ChatGPT Code used: Auto-Rotating Servo Motor
#include <Servo.h>
const int SERVO_PIN = 9; // Pin connected to servo
const int MIN_ANGLE = 0; // Starting angle
const int MAX_ANGLE = 180; // Ending angle
const int SPEED = 10; // Delay control speed (lower = faster)
Servo servo;
void setup() {
servo.attach(SERVO_PIN); // Connect servo to pin 9
}
void loop() {
// Sweep forward 0 → 180°
for(int angle = MIN_ANGLE; angle <= MAX_ANGLE; angle++) {
servo.write(angle);
delay(SPEED);
}
// Sweep backward 180° → 0°
for(int angle = MAX_ANGLE; angle >= MIN_ANGLE; angle--) {
servo.write(angle);
delay(SPEED);
}
}
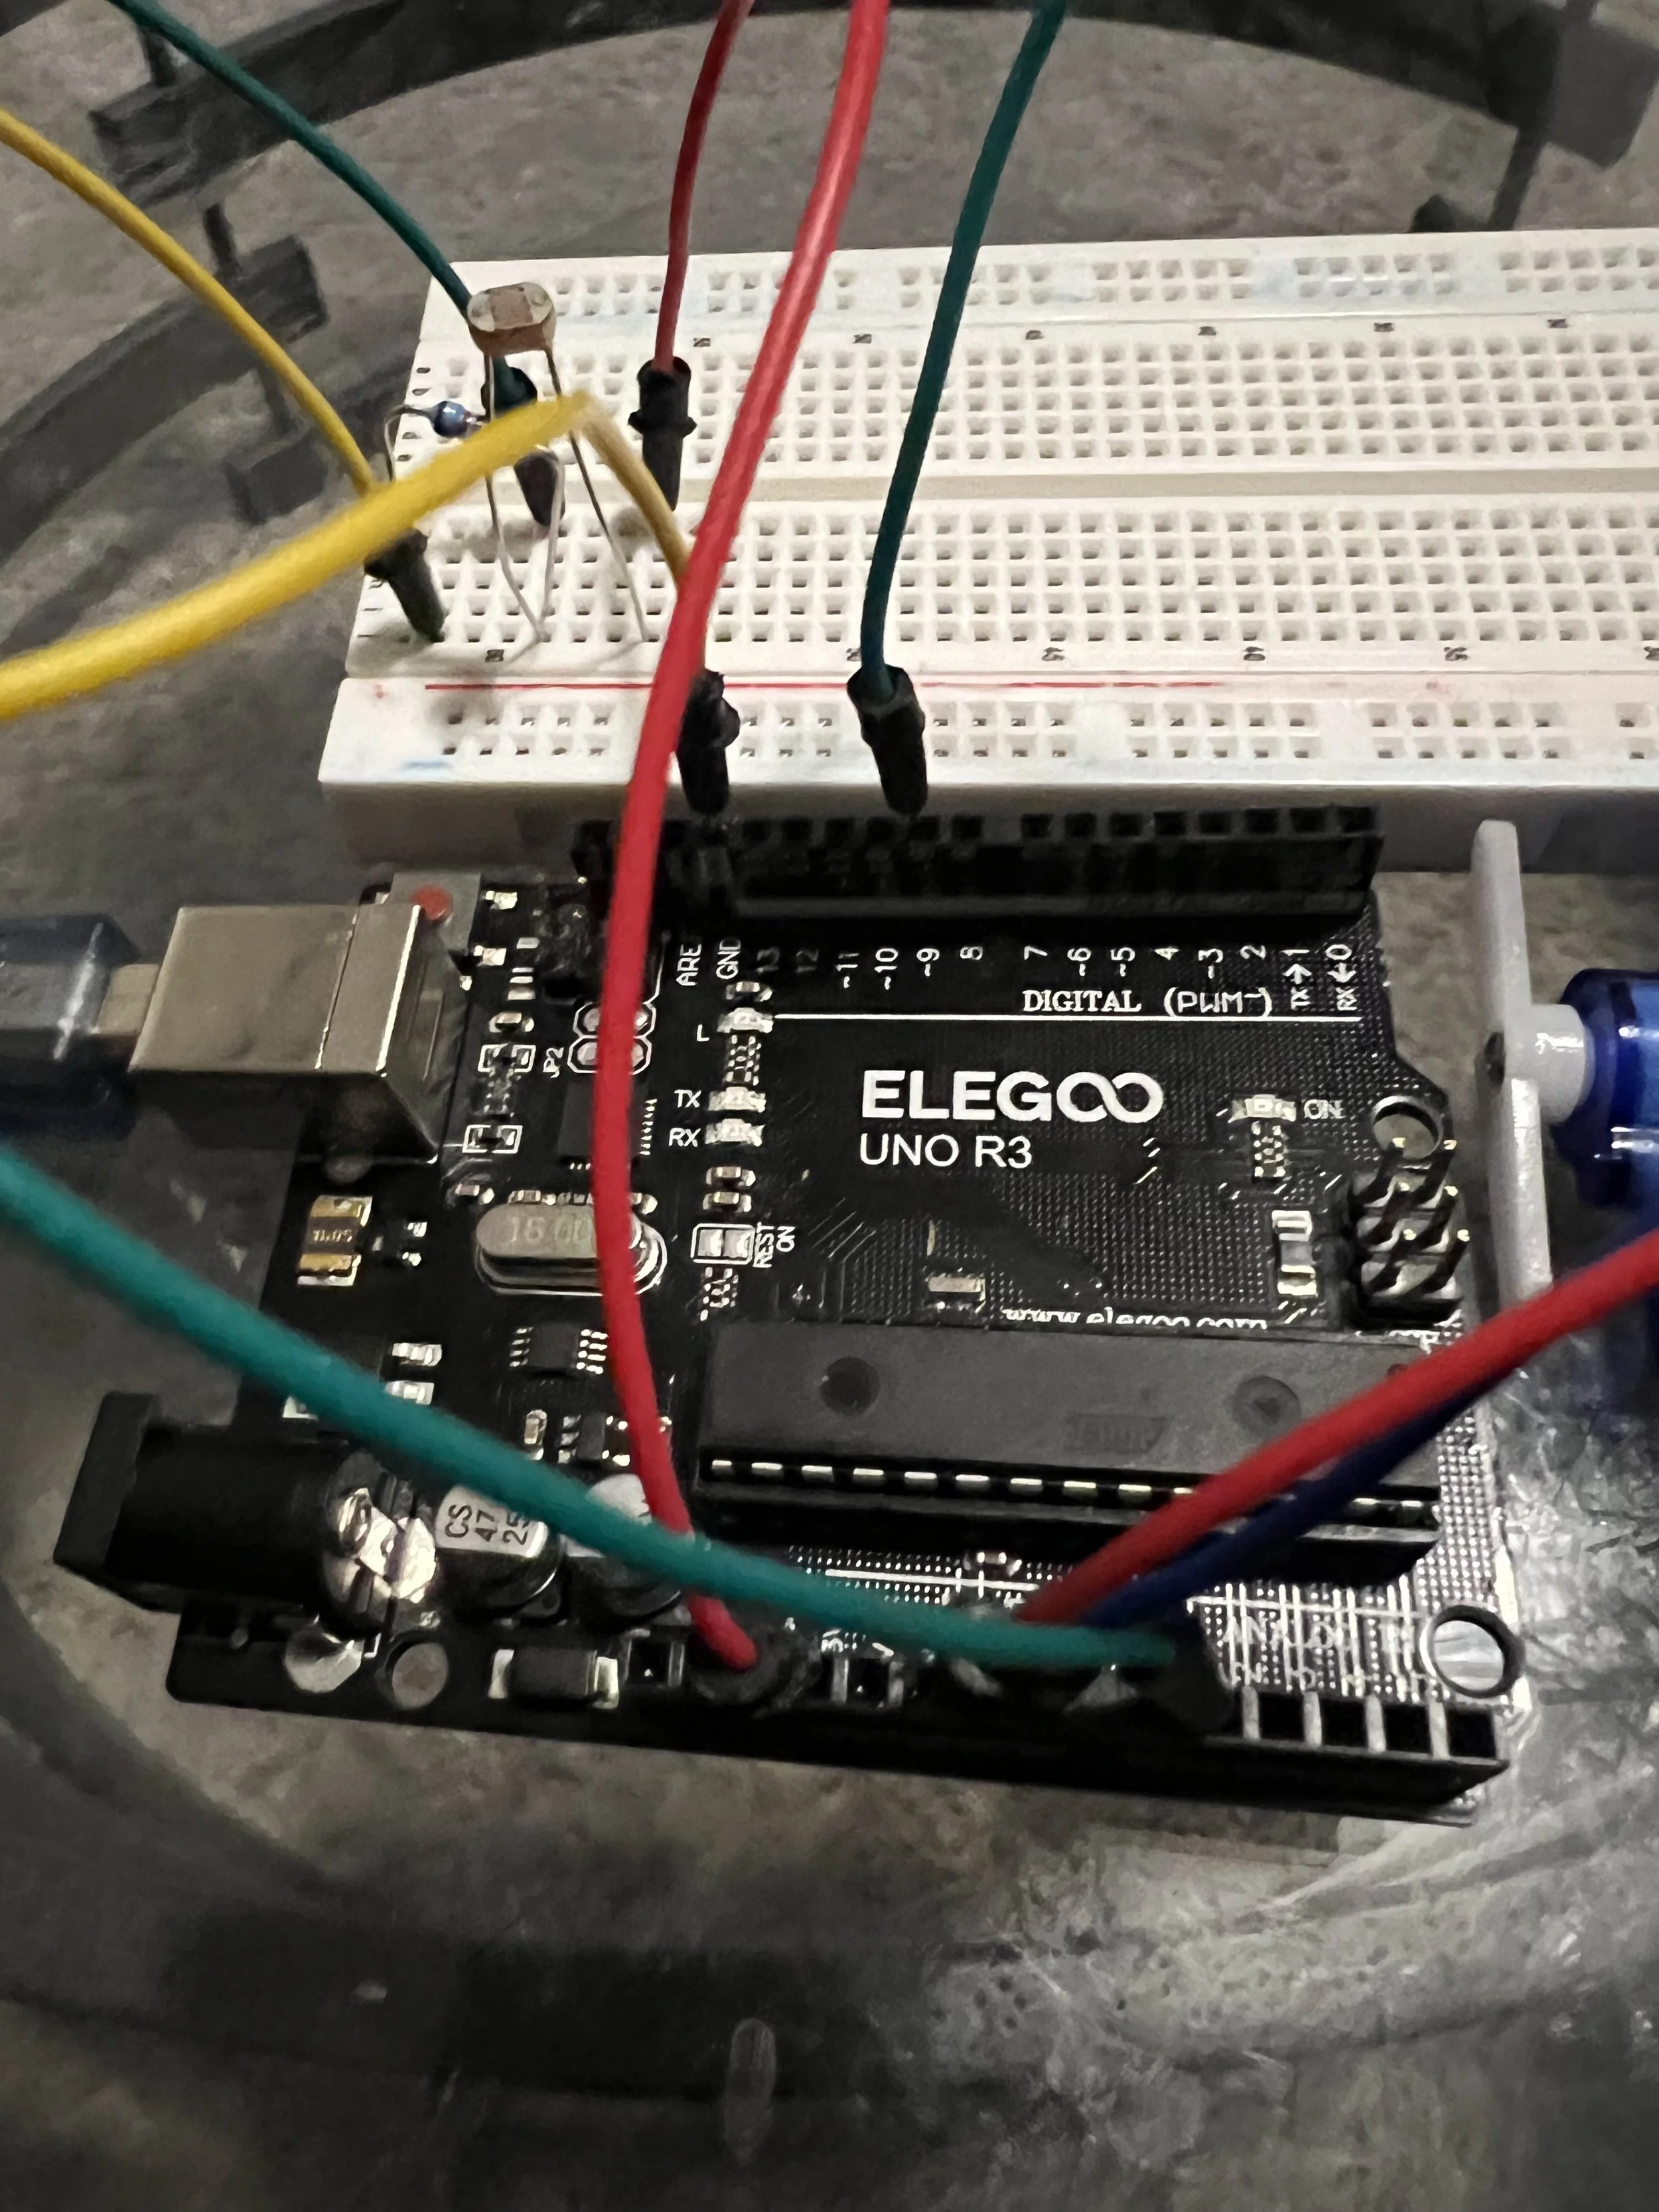
Picture of the circuit
Video 1
Code used Arduino Code: Random Servo Movement
#include <Servo.h>
const int SERVO_PIN = 9; // Servo signal pin
Servo servo;
void setup() {
servo.attach(SERVO_PIN);
randomSeed(analogRead(A0)); // Seed randomness (uses noise from unused analog pin)
}
void loop() {
int targetAngle = random(0, 181); // Random angle between 0° and 180°
int moveSpeed = random(2, 5); // Random speed (lower = faster movement)
int currentAngle = servo.read();
// Smooth movement
if (targetAngle > currentAngle) {
for (int pos = currentAngle; pos <= targetAngle; pos++) {
servo.write(pos);
delay(moveSpeed);
}
} else {
for (int pos = currentAngle; pos >= targetAngle; pos--) {
servo.write(pos);
delay(moveSpeed);
}
}
delay(random(100, 1000)); // Random pause before next move
}
Video 2
Final Reflection
As I wrapped up this week’s Light Sensor and Motor project, I found myself reflecting on just how much trial and error went into getting the code to behave the way I expected. What seemed like a simple task at first—using a sensor to control a motor—quickly turned into a deeper lesson in debugging, testing, and adapting code from different sources. I learned that not all code online works “as-is,” and even when it does, it may not match the behavior I envisioned for my circuit. Throughout the process, I kept searching for code examples, testing them, and rewiring my setup, only to realize that sometimes the smallest lines of code make the biggest difference.
One major challenge I faced was finding working code that I could paste directly into ChatGPT to modify. Some sketches online were outdated, incomplete, or used different wiring configurations than the ones we’re using in class. At times, I wasn’t even sure if the problem was the code, the circuit, or something in between. That’s where ChatGPT became extremely helpful. Instead of guessing why something wasn’t working, I could paste the code directly into the chat and ask for adjustments or simplifications. ChatGPT helped me rewrite the logic step-by-step, making the code cleaner and easier to understand. It also allowed me to make quick changes—like altering thresholds, adjusting motor movement, or converting sensor-based triggers into automatic actions—without feeling overwhelmed.
Looking back, I learned a lot about the importance of understanding what each section of code does rather than just copying it blindly. Even though the circuit didn’t always work right away, the process taught me patience and helped me build confidence in debugging. If the project were still not fully working, my next steps would be to recheck my wiring, add serial print statements to monitor sensor data, and test smaller pieces of the code independently before combining everything again.
Finally, what excites me most is thinking about how this simple light-sensor-controlled motor setup connects to real-world systems. Automatic doors, solar trackers, nighttime lighting, robotics, and even smart home devices use variations of the same idea: sensors reading environmental inputs and motors responding to them. With a few extensions—like adding multiple sensors, incorporating randomness, or using more precise motor control—this project could easily expand into a full interactive system. This week reminded me that the gap between a classroom project and real-world technology is smaller than it seems, especially when I have the right tools and support to keep building.